
Hi , today in this tutorial we will share with you the android remote control suite called “L3MON”. L3MON is a cloud-based android management suite but for now we will fix it on localhost in our kali linux operating system. L3MON Android suite management is built in the NodeJS language. When viewed, it is a type of Android management tool that makes the completely inaccessible download of the Android app and accessible to every device.
Features of L3MON
- GPS Logging
- Microphone Recording
- View Contacts
- SMS Logs
- Send SMS
- Call Logs
- View Installed Apps
- View Stub Permissions
- Live Clipboard Logging
- Live Notification Logging
- View WiFi Networks (logs previously seen)
- File Explorer & Downloader
- Command Queuing
- Built-In APK Builde
Let’s take a look  !!
!!

Install & Setup Video

Install Dependencies Tool
Step 1 :- Install Dependencies – NodeJs
As we know that every project has a code in nodejs, so we have to install nodes in our system in order to use it. In addition, we must appoint an NPM package manager to publish Nodejs projects.

Step 2 :- Install PM2
Basically pm2 allows us to manage app shipping and keep apps alive forever. So you need to install it using the following command.
Step 3 :- Tool Installation
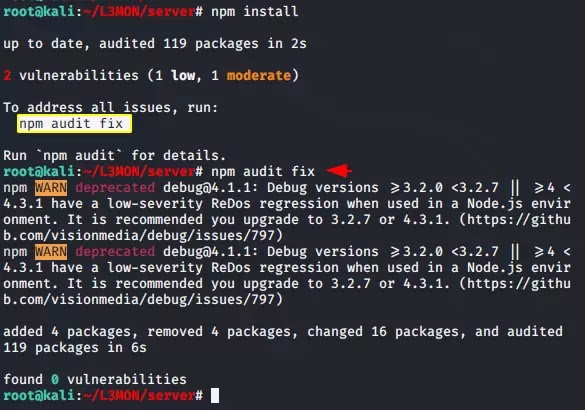
Download the entire tool from github with git command, go to the directory and then its server directory and execute the “npm” command.

Step 4 :- After executing the command you will get an error which we have highlighted which you need to execute to fix the issues.
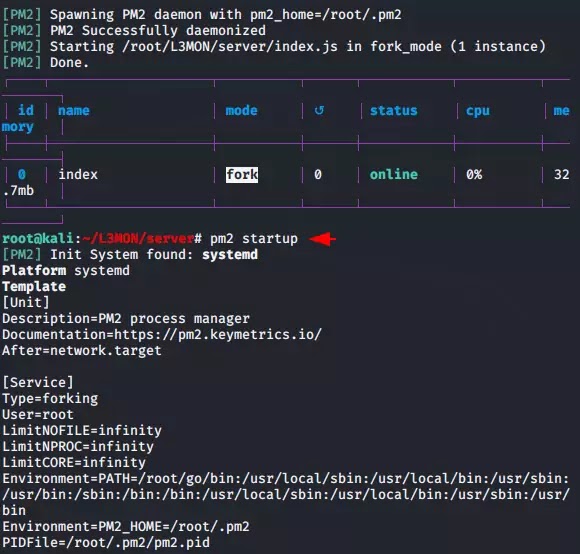
Step 5 :- Now start and daemonize the application by using the following command.
Step 6 :- Make pm2 auto-boot at server restart by using the following command.
Step 7 :- Hmm 😛 !! We followed all the above instructions to check if it worked. Everything is fine, So we need to shut it down again to do some required configuration in the server.
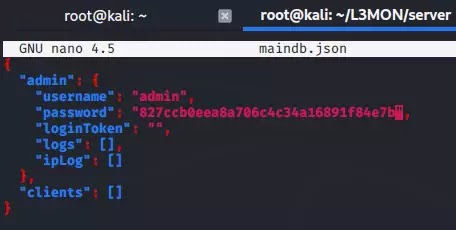
Step 8 :- We need to change the password to MD5 hash encryption and put it in the configuration file to secure the admin panel. You can change the password according to the command below.
Usage !! echo -n “Your Password” | md5sum

Step 9 :- Good !! Now here you can keep the username and password as per your choice but only add MD5 hash value to the password.
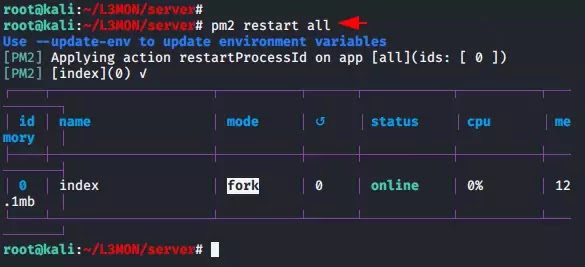
Step 10 :- BOOT !! Everything is done and now we need to restart all the servers again.
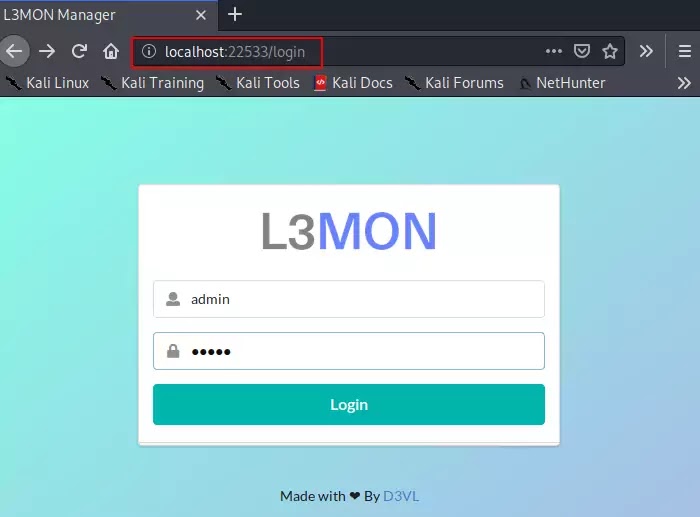
Step 11 :- In just one attempt we have successfully configured this tool on our localhost. Just use the following location & Your System IP, execute it on our browser, enter the username “admin” and password “12345″ and that’s it you will redirect to the admin panel.
https://localhost:22533 & https://(your IP):22533
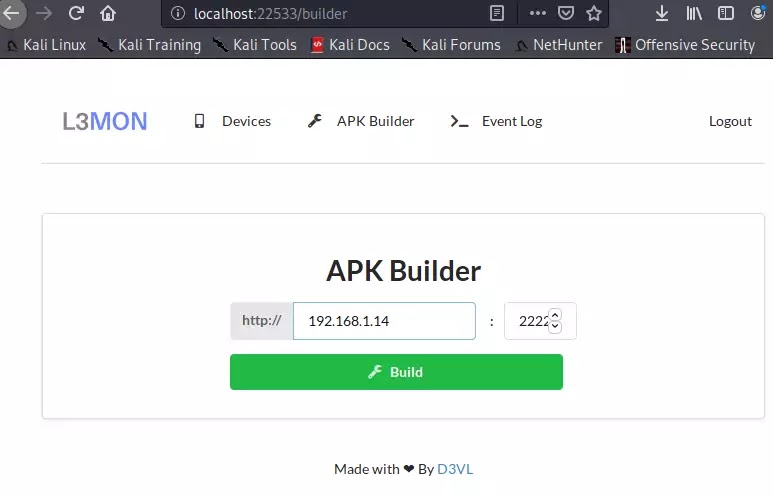
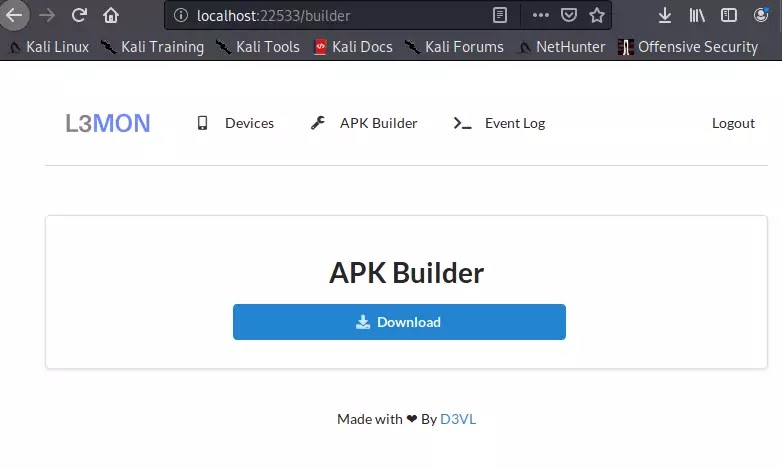
Step 12 :- APK Building
Without wasting time, just go to the APK Builder section and give the localhost IP address (local or public) and enter the port according to you.
Note: If we want to control an android device on our local network (same WiFi) we may use our local IP and connect devices to the Internet we need to set our Public IP (Standalone IP is preferred for long-term use).
Step 13 :- After clicking on build we got an error like this.

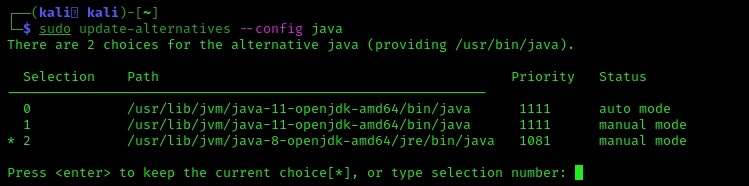
Step 13 :- We resolved this error by stopping JAVA at another terminal using the Following command:
Here we can select Java versions. We need version 8 of Java to run the L3MON tool. If it happens at number 2, as we see in the next picture.
Step 13 :- Then we restart our running L3MON server by using following command:
Step 13 :- It only takes 10 to 20 seconds to create android trojan. Once the payload is created, just download it and share it to the victim as per you.
Step 14 :- FUD Payload
It is very important whether the payload is detectable or not ? But in this case our payload is completely undetectable as you can see in the image below.

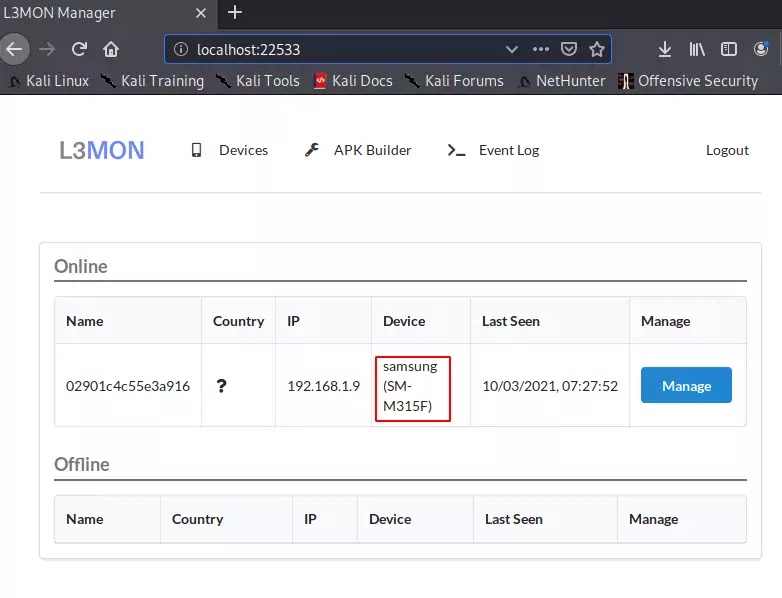
Step 15 :- Once the victim has installed it and enabled the necessary permissions then you will get full access to the android phone. As you can see in the image below, we have got more information about the victim’s phone such as his IP address, device name and more.
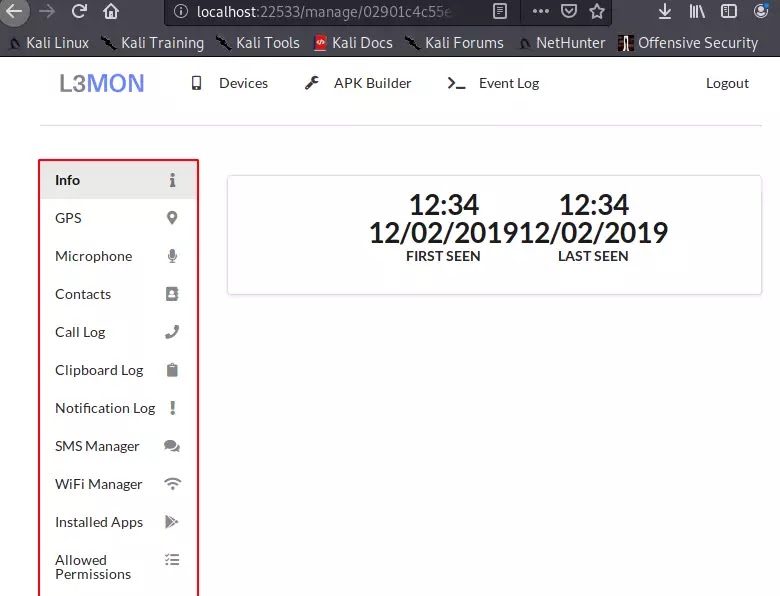
Step 16 :- Once you enter the manage button, you will get all these options to manage the victim phone.
SOCIAL MEDIA